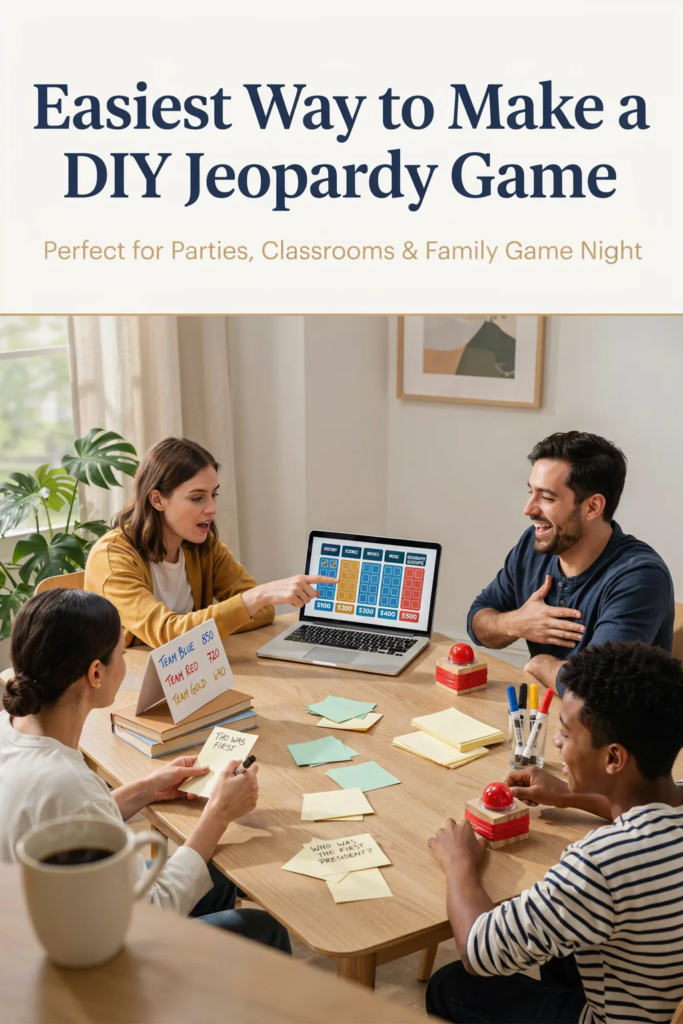
Creating a Jeopardy Game DIY is one of my favorite ways to make family gatherings, classroom activities, and game nights more interactive. The best part is that you don’t need expensive equipment or advanced crafting skills to get started. With a few basic supplies and some creativity, you can build a game that keeps everyone engaged.
I have found that quiz-style games encourage teamwork, friendly competition, and quick thinking. Whether you’re planning a birthday party, classroom review session, or family event, this guide will show you exactly how to create your own Jeopardy-style game from scratch.
Key Takeaways
Jeopardy Game DIY
A homemade Jeopardy game is a fun way to test knowledge while bringing people together. I like this activity because it can be adjusted for kids, teens, and adults. You can create categories based on movies, history, sports, science, pop culture, or any topic your group enjoys.
One reason trivia games remain popular is that they combine entertainment with learning. Studies have shown that quiz-based activities can improve memory retention and recall, making them useful for both educational and social settings.
If you spend a little extra time preparing thoughtful questions, your game can become the highlight of the event.
What materials are needed to make the game?

Before starting your Jeopardy Game DIY project, gather the following supplies:
I recommend using bright colors for categories and point values because it makes the board easier to read from a distance.
Pro Tip
Laminate the category cards if you plan to reuse your game multiple times. This simple step can help your board last much longer.
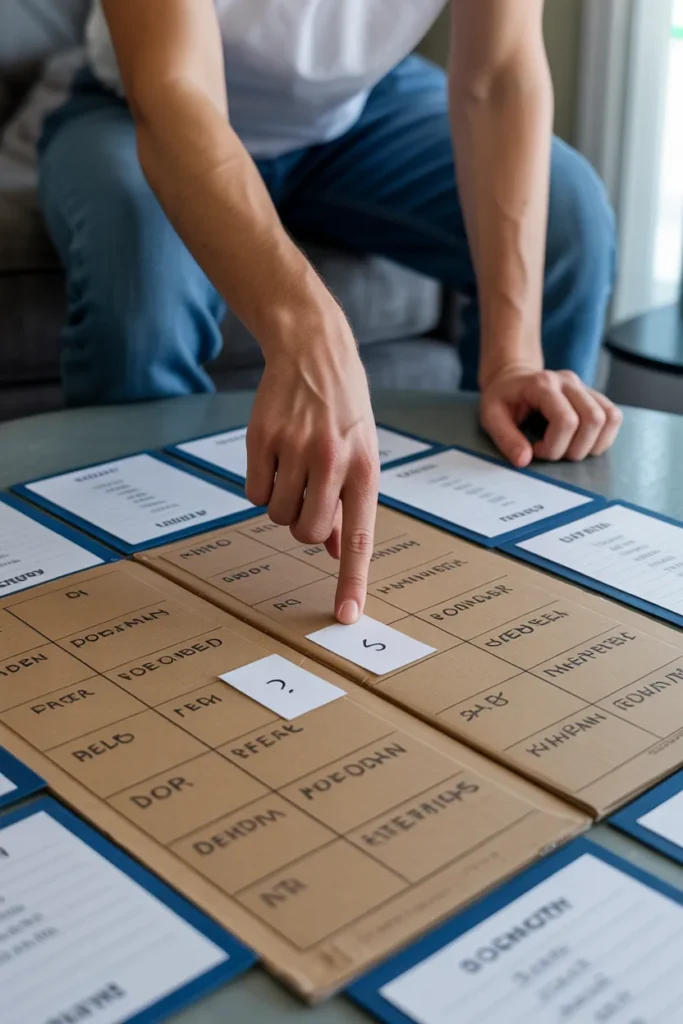
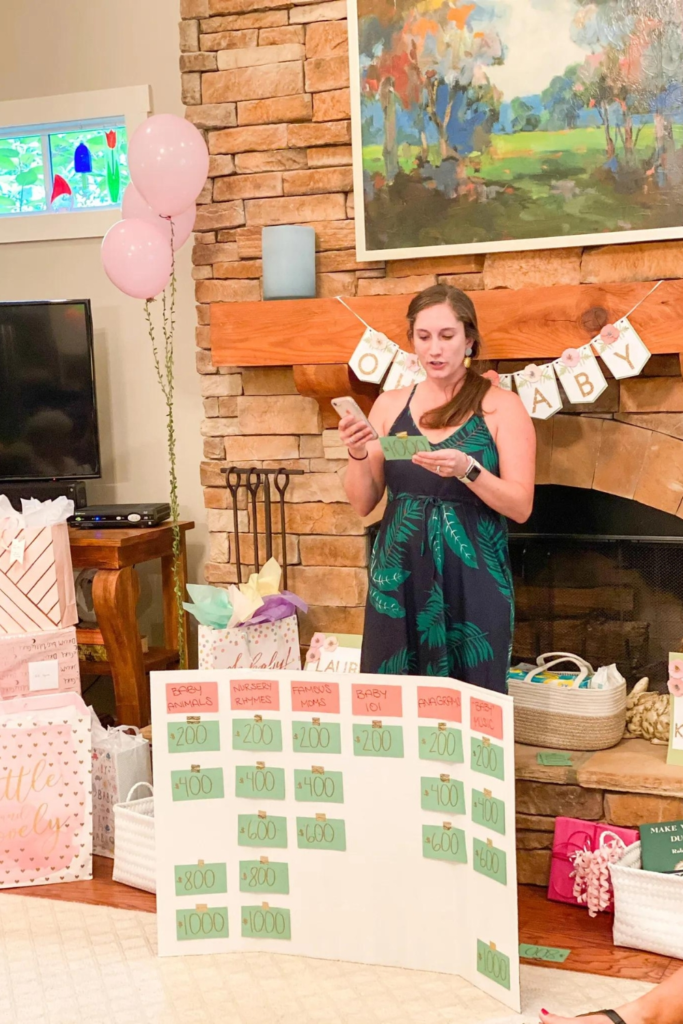
1. Prepare the Game Board
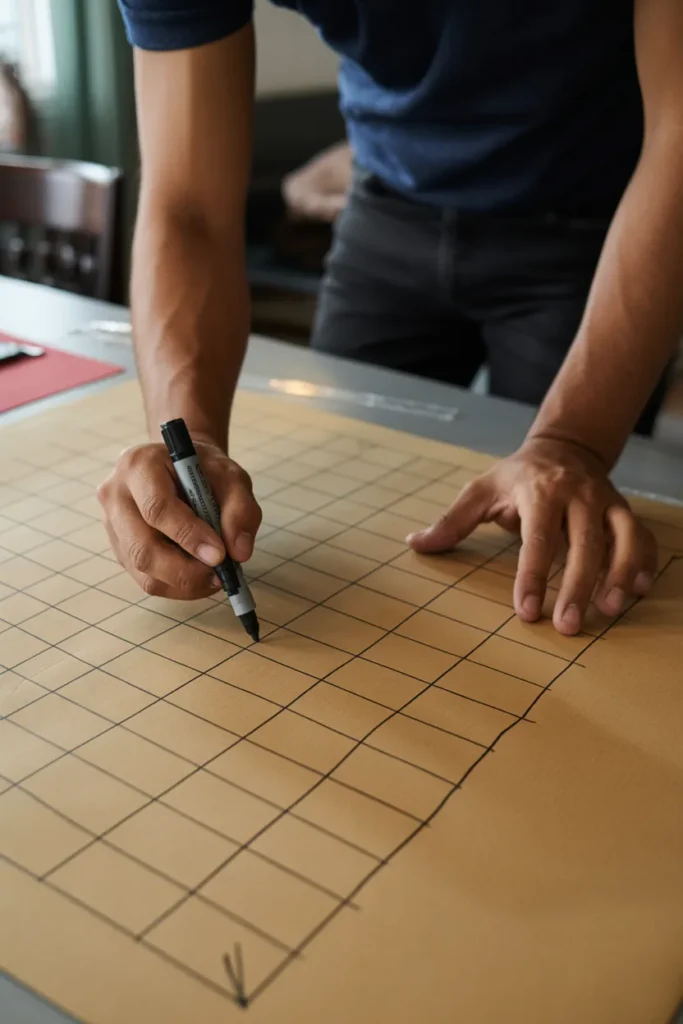
The game board is the centerpiece of your Jeopardy Game DIY setup. I usually start by drawing a grid with five columns and five rows. The columns represent categories, while the rows represent increasing point values.
Write category names across the top row and place point values underneath each category. Common point values include:
Using a ruler helps keep the board neat and professional-looking. Clear organization also helps players quickly identify available questions during gameplay.
Try choosing categories that match your audience’s interests. For younger players, cartoons and animals work well. For adults, you can include history, travel, sports, or current events.
2. Create the Question Cards
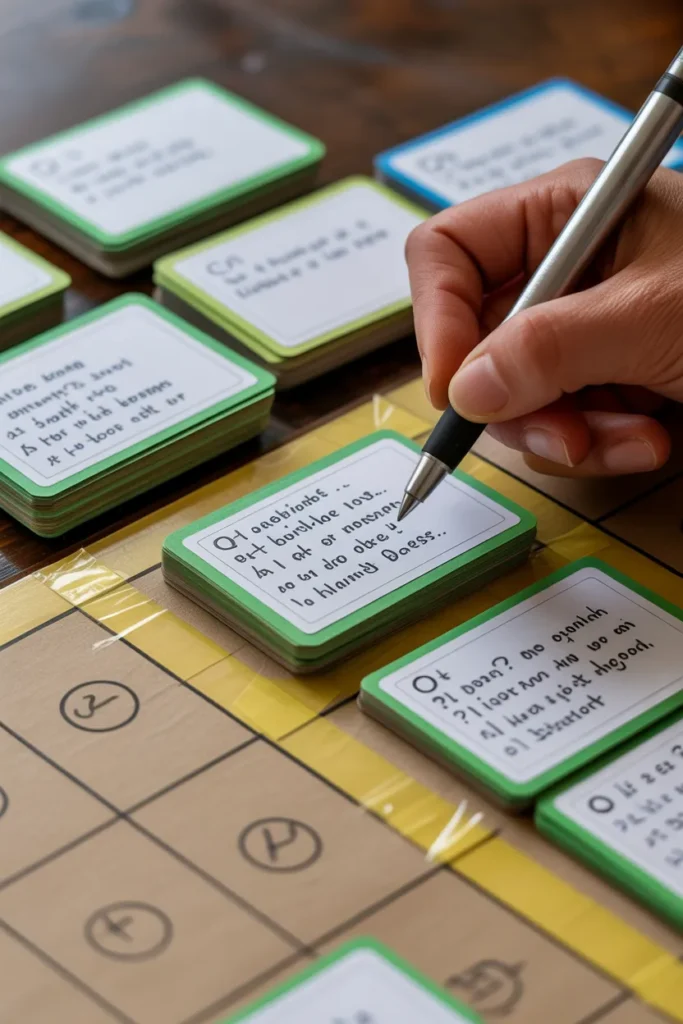
Once the board is complete, the next step is preparing the questions.
For every point value on the board, create a matching question card. Write the clue on the front and the correct response on the back. This setup allows the game host to read the clue while keeping the answer hidden.
I like making easier questions worth fewer points and gradually increasing the difficulty. This creates a balanced game and keeps players interested until the final round.
A standard board contains:
Having a mix of easy, medium, and difficult questions helps maintain excitement throughout the game.
Pro Tip
Include a few surprising questions. Unexpected trivia often becomes the most memorable part of the game.
3. Set Up the Game Area
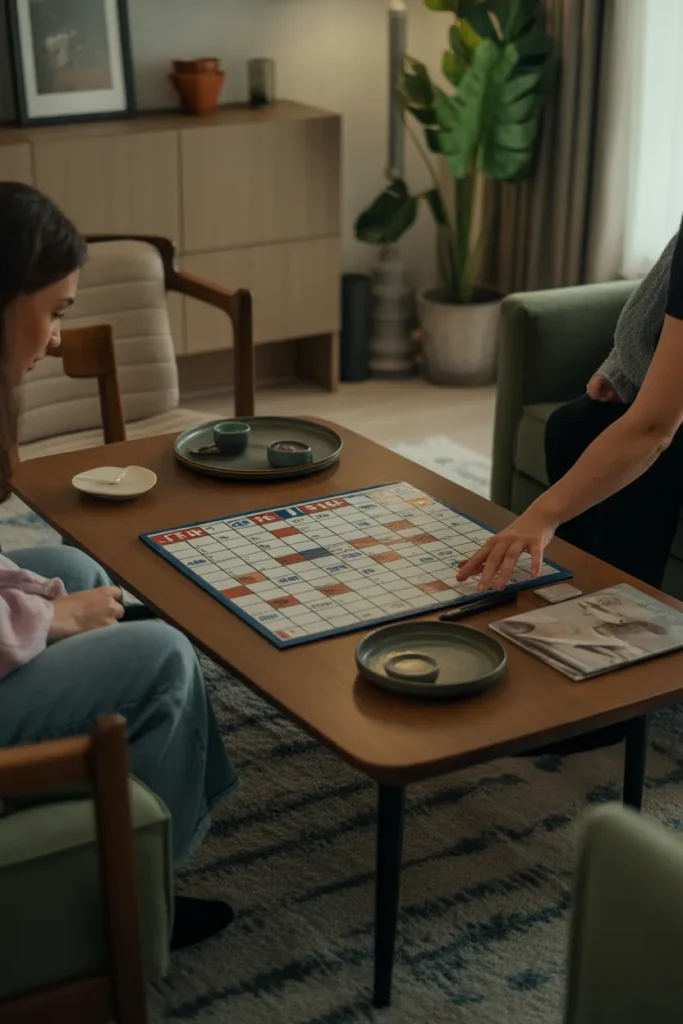
The setup can have a big impact on the overall experience.
Place the board where everyone can see it comfortably. Arrange chairs so players have a clear view of the categories and scores. Make sure there is enough space for participants to discuss answers and move around if needed.
I also keep a timer nearby to prevent questions from taking too long. Most trivia games work best when answers are limited to 15–30 seconds.
Good lighting and minimal distractions can make the game run much more smoothly.
4. Explain the Rules

Before the game starts, take a few minutes to explain how everything works.
Players choose a category and point value. The host reads the clue, and participants try to provide the correct response. To make the experience feel more like the original format, players can answer in the form of a question.
If a player answers correctly, they earn the points associated with that clue. If the answer is incorrect, the points are deducted and other players can attempt to answer.
Clear rules help avoid confusion and keep the competition fair.
Some groups also use buzzers, bells, or simply raise their hands to answer.
5. Play the Game

Now comes the fun part.
Allow the first player or team to choose any category and point value from the board. Continue taking turns until all questions have been used.
I usually keep score on a separate sheet so everyone can follow the standings. This creates excitement as players compete for the lead.
Encourage strategy throughout the game. Some participants prefer collecting easy points, while others take risks on higher-value questions.
That variety often makes the game more entertaining.
Pro Tip
If you have a large group, divide players into teams. Team-based play encourages participation from everyone.
6. Final Jeopardy

A Final Jeopardy round can make your Jeopardy Game DIY feel much more authentic.
At the end of the game, each player decides how many points they want to wager. They can risk a small amount or go all-in for a chance to win.
Prepare one challenging question that fits the overall theme of your game. After reading the clue, give players time to write down both their answers and wagers.
Once everyone finishes, reveal the correct response and calculate the final scores.
This round often creates the biggest surprises because even players who are behind can still make a comeback.
7. Prizes
Prizes are optional, but they can make the experience more memorable.
The rewards do not need to be expensive. Small gifts often work just as well. Some simple ideas include:
I have found that even a small reward can increase participation and enthusiasm.
For classroom settings, recognition certificates can be just as motivating as physical prizes.
How to Make a DIY Jeopardy Game in PowerPoint?
A digital Jeopardy Game DIY is perfect when you want a cleaner and more professional presentation.
PowerPoint allows you to create clickable categories, question slides, and scoreboards without needing a physical board.
1. Create an Intro Slide
Start by designing a welcome slide. Add a title, theme graphics, and a Start button that links to your main game board.
A strong opening slide immediately makes the game feel more polished.
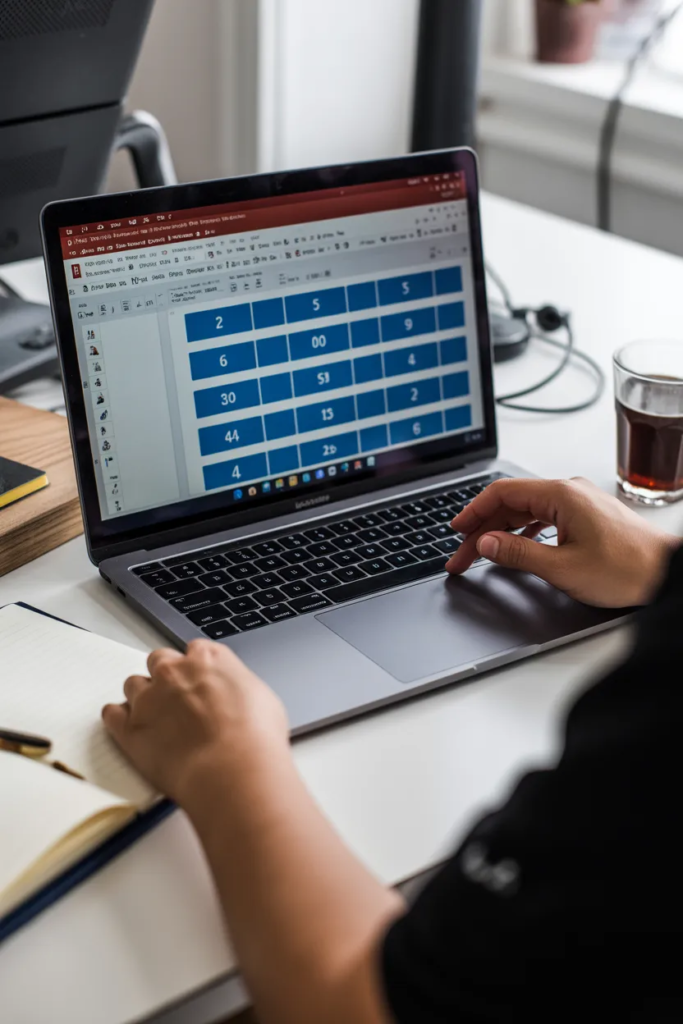
2. Build the Main Game Board
Insert a table and organize it into categories and point values.
PowerPoint lets you customize colors, fonts, and layouts, making it easy to create a board that resembles a real Jeopardy game.
3. Use a Jeopardy Template
Using a pre-made template can save a lot of time.
Templates often include ready-made layouts for clues, answers, and navigation buttons, reducing setup work significantly.
4. Create Question and Answer Slides
Build individual slides for each question.
Add the clue to one slide and the answer to another. This keeps gameplay organized and easy to manage during presentations.
I recommend keeping text large and readable so participants can view it from across the room.
5. Add Hyperlinks
Hyperlinks are what make the game interactive.
Link every point value on the game board to its corresponding question slide. Then create navigation buttons that return players to the main board after each question.
Testing every link before game day is important.
6. Test the Presentation
Run the slideshow several times to make sure everything works correctly.
Check:
A quick test can prevent technical issues during the actual game.
7. Share Your Game
Once completed, you can share your PowerPoint game with friends, coworkers, students, or family members.
The file can be presented in person, shared through email, or displayed during virtual meetings.
This makes a PowerPoint version one of the most flexible Jeopardy Game DIY options available.
Final Thoughts
Making a Jeopardy Game DIY is an affordable and enjoyable project that can transform an ordinary gathering into an interactive experience. I like that it can be customized for nearly any age group, event, or topic.
Whether you build a physical board with poster paper or create a digital version in PowerPoint, the goal is the same: bring people together, encourage participation, and have fun. With a little preparation and creativity, you can create a game that everyone will remember long after the final question is answered.
Many of the ideas I share are inspired by real-life experimentation. I often test décor concepts in my own living spaces and explore practical ways they can be applied in everyday homes. I also gather insights from working with homeowners who want to improve the comfort, beauty, and functionality of their spaces.
I share practical ideas for improving living rooms, bedrooms, and overall home aesthetics using simple design principles.
I explore creative ways to upgrade outdoor spaces including patio décor, small backyard styling, and relaxing outdoor setups.
I provide ideas for kitchen organization, décor accents, and functional layouts that make kitchens more beautiful and practical.
The concepts shared here are based on ideas I have personally experimented with or studied through real home décor improvements.