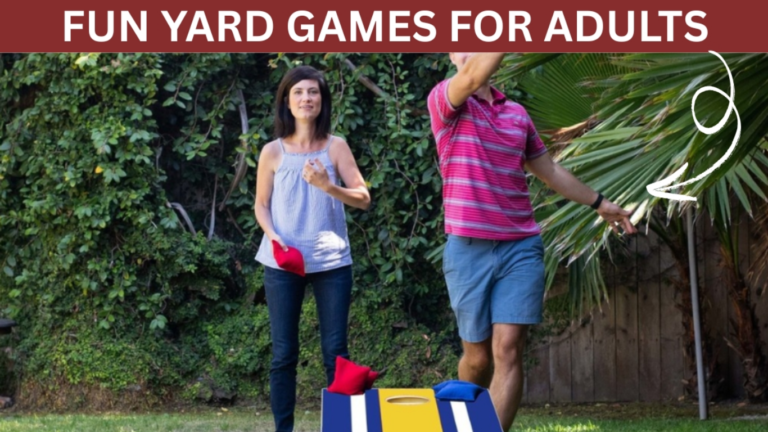
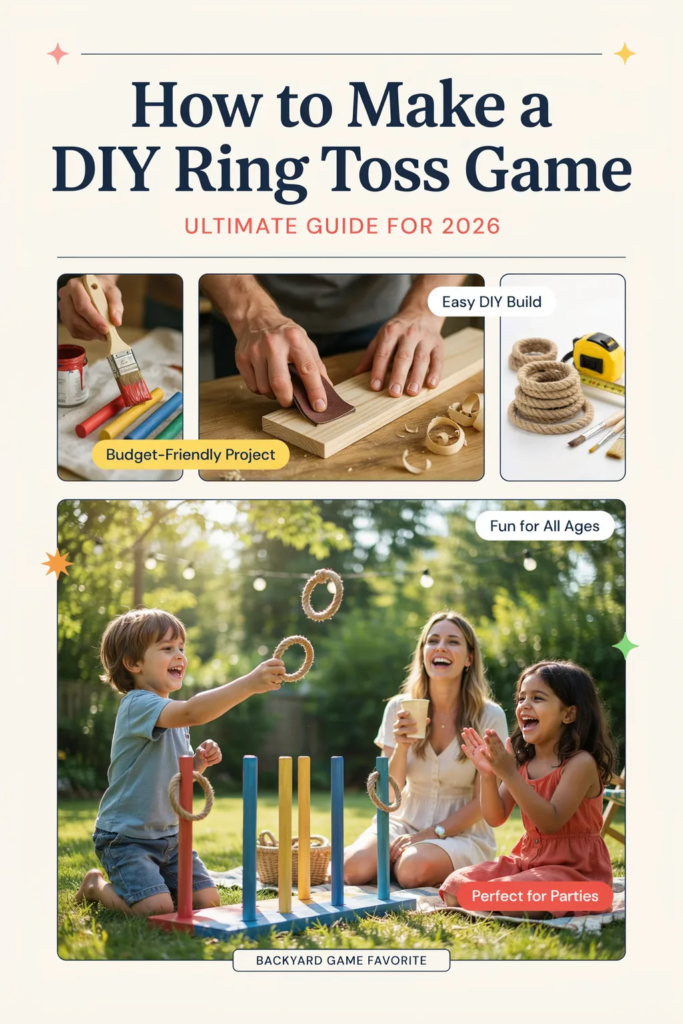
A DIY ring toss game is one of my favorite projects because it combines creativity, fun, and affordability. Whenever I need an activity for a birthday party, family gathering, backyard barbecue, or school event, this game is always a hit. It takes very little time to build, costs far less than buying a store-bought version, and can be customized to fit any theme.
What I like most about a DIY ring toss game is that it works for nearly every age group. Young kids enjoy the challenge of landing rings on targets, while adults often turn it into a friendly competition. In fact, many family activity surveys show that simple outdoor games remain among the most popular ways to encourage screen-free entertainment and social interaction.
In this guide, I’ll show you exactly how to build a DIY ring toss game from scratch. I’ll also share creative ring toss game ideas that I’ve used successfully for parties, backyard events, and family game nights.
Key Takeaways
How to Make a DIY Ring Toss Game?
After building several versions over the years, I’ve found that a wooden ring toss setup offers the best balance between durability and appearance. It looks professional, holds up well outdoors, and can be reused for many different occasions.
The project is beginner-friendly and doesn’t require advanced woodworking skills. Even if you’ve never built a game before, you can finish this project with basic tools and a little patience.
Materials Needed:
Pro Tip
I always choose outdoor-grade wood glue when making games that may be stored in garages, patios, or sheds. It significantly improves durability over time.
Step 1 – Cut the Dowels
I begin by cutting the wooden dowel into five sections:
Using different heights creates a more interesting playing experience. Most players naturally aim for the tallest peg first, which increases the challenge level.
Before moving on, I lightly sand all cut edges to remove splinters and create a smoother finish.
Step 2 – Mark and Drill Holes
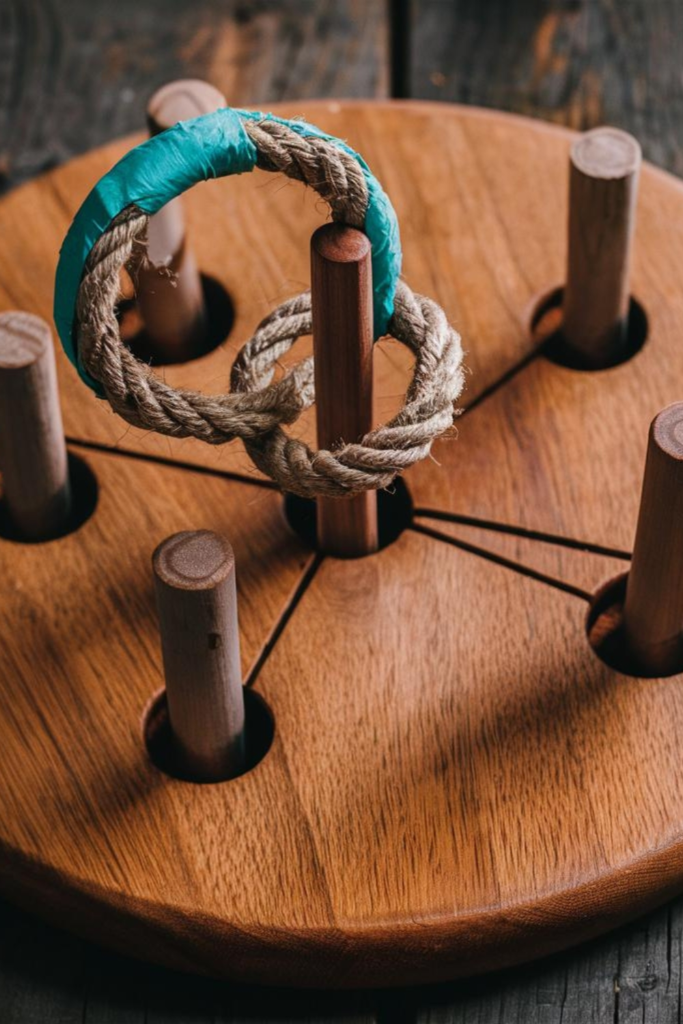
Next, I mark the placement of the five dowels on the wooden board. One hole goes directly in the center while the remaining four are spaced evenly around it.
Accurate spacing is important because it creates balanced gameplay. I usually measure twice before drilling to ensure everything looks symmetrical.
Using a drill bit that closely matches the dowel diameter helps create a secure fit.
Step 3 – Attach the Dowels
Once the holes are ready, I apply wood glue to the bottom of each dowel and insert them firmly into place.
I prefer allowing the glue to cure overnight instead of rushing the process. Strong adhesion prevents wobbling and helps the game survive years of use.
If needed, clamps can help keep everything perfectly straight while drying.
Step 4 – Prepare the Rings
For the tossing rings, I cut rope into 16-inch sections and connect the ends securely using duct tape.
Sisal rope is my preferred choice because it has enough weight to fly consistently through the air. Lightweight materials often bounce too much and make gameplay frustrating.
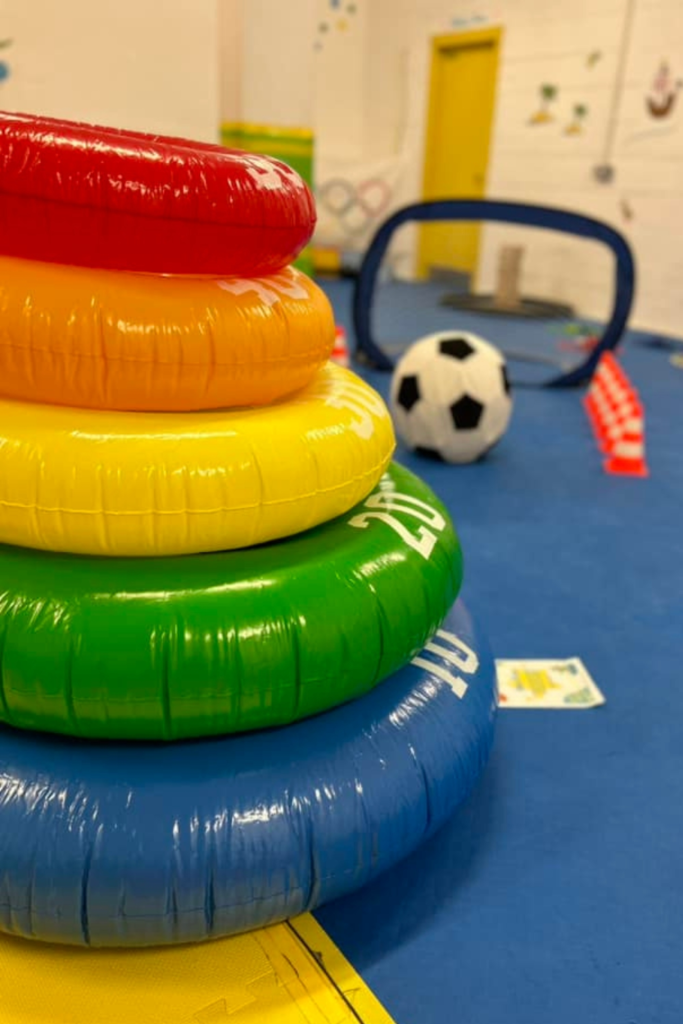
You can create several rings in different colors to assign various point values during competition.
Step 5 – Paint the Game
Painting isn’t required, but it can completely transform the appearance of your DIY ring toss game.
Bright colors help the game stand out at parties, while wood stain creates a rustic look. I often use weather-resistant paint because it protects the wood from moisture, sun exposure, and scratches.
This is also a great opportunity to personalize the game with names, numbers, or themed designs.
Step 6 – Final Assembly

Before playing, I inspect every component carefully. The dowels should feel secure, and the rings should maintain their shape.
To increase excitement, I assign different point values to each peg. The center peg typically earns the highest score because it’s usually the hardest target to hit.
Once everything is secure, the game is ready for action.
10 DIY Ring Toss Game Ideas

If you want to go beyond a basic setup, these creative variations can make your DIY ring toss game even more exciting.
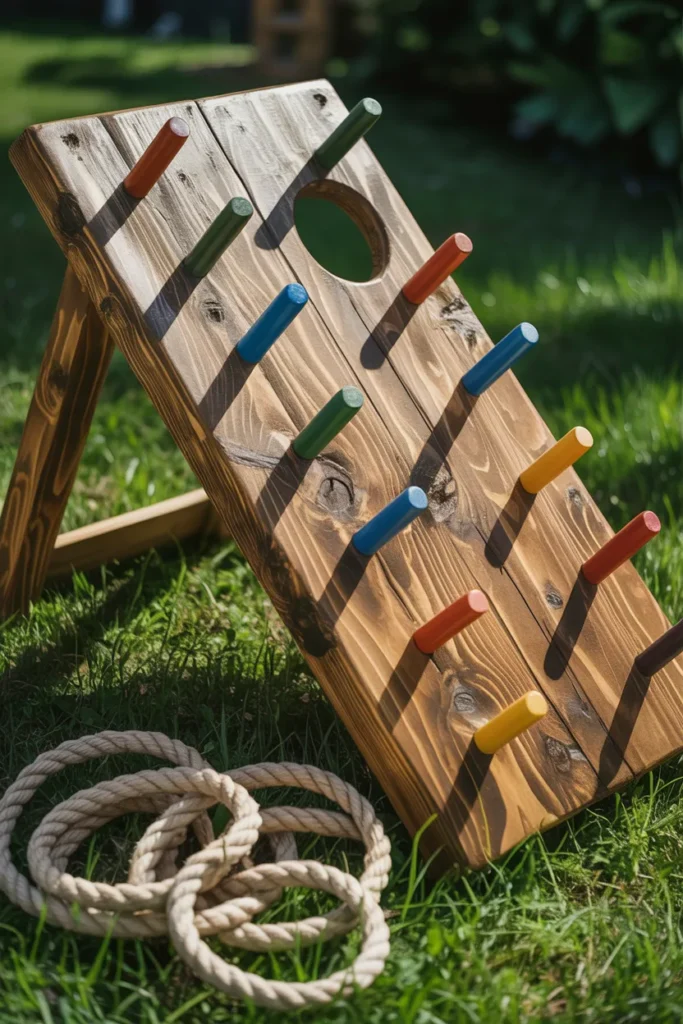
1. Classic Wooden Board Ring Toss

The classic wooden version remains my go-to choice because it’s reliable and versatile.
A sturdy wooden base with multiple pegs creates a timeless game that works at birthdays, family reunions, school functions, and neighborhood gatherings. I often paint numbers around each peg to introduce a scoring challenge.
Because the structure is solid, it can last for years with proper maintenance.
Pro Tip
Apply a clear outdoor sealant once every year to keep the wood looking fresh and protected.
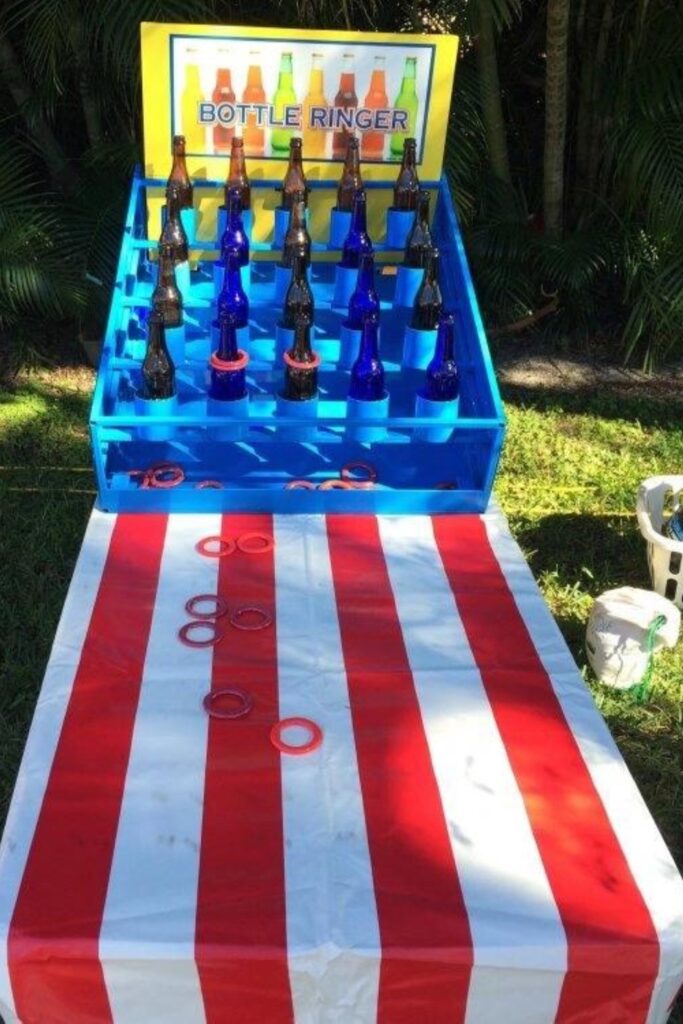
2. Patriotic Bottle Ring Toss

This version is perfect for holiday celebrations.
I use empty bottles painted in patriotic colors such as red, white, and blue. The colorful display adds decoration while also serving as a playable game.
The setup works especially well during summer cookouts and outdoor community events.
Changing the color scheme allows this idea to match almost any party theme.
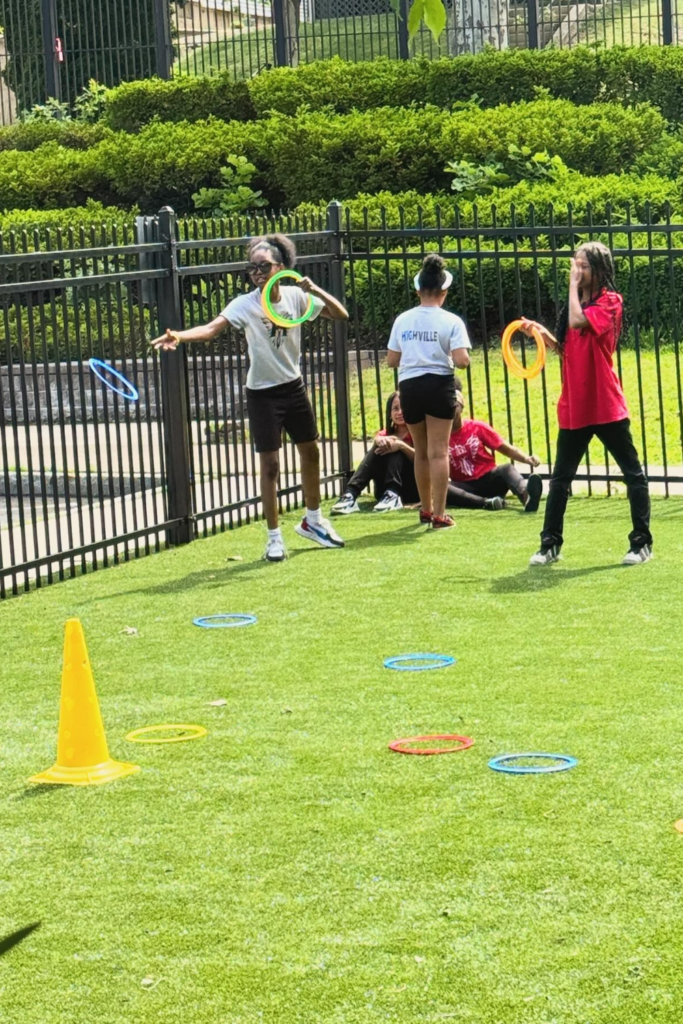
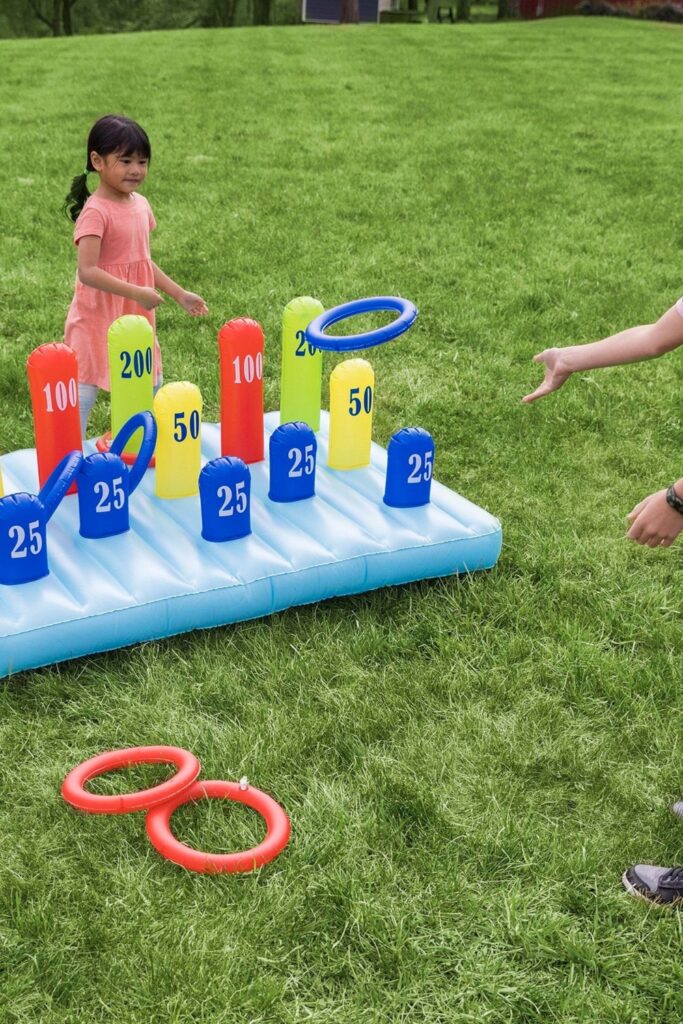
3. Outdoor Cone Ring Toss Game

Plastic cones create an easy and portable ring toss game.
I often arrange cones at different distances so younger children and adults can play at their own skill levels. This variation encourages movement and keeps participants active.
Many child development experts agree that games involving throwing and aiming help strengthen hand-eye coordination and motor skills.
Because cones are lightweight, setup and storage are incredibly simple.
4. PVC Pipe Ring Toss
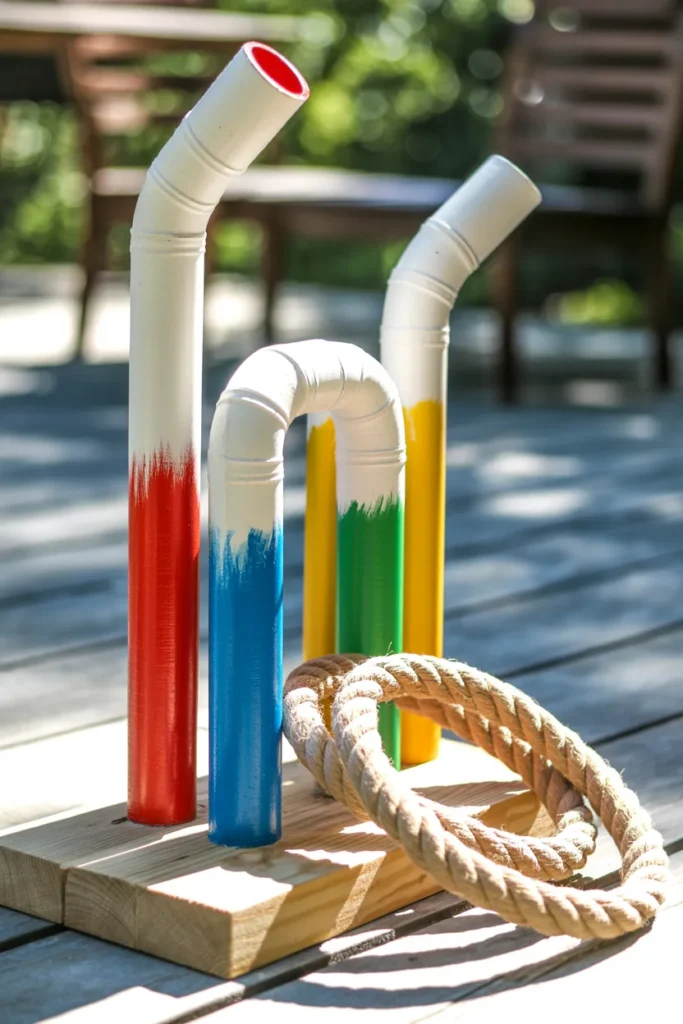
Whenever I need a long-lasting outdoor game, I choose PVC.
PVC pipe resists rain, humidity, and direct sunlight much better than untreated wood. I build a simple frame using connectors and paint the structure in bright colors for extra visibility.
The result is a durable DIY ring toss game that requires very little maintenance.
This option is especially useful for schools, camps, and community centers.
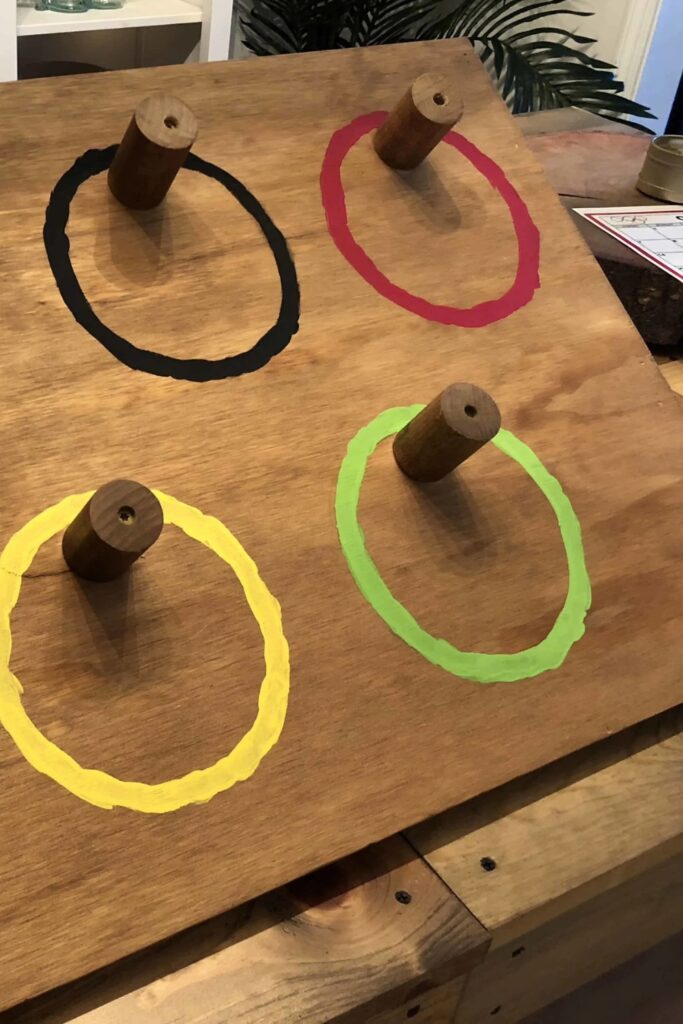
5. Olympic-Themed Ring Toss
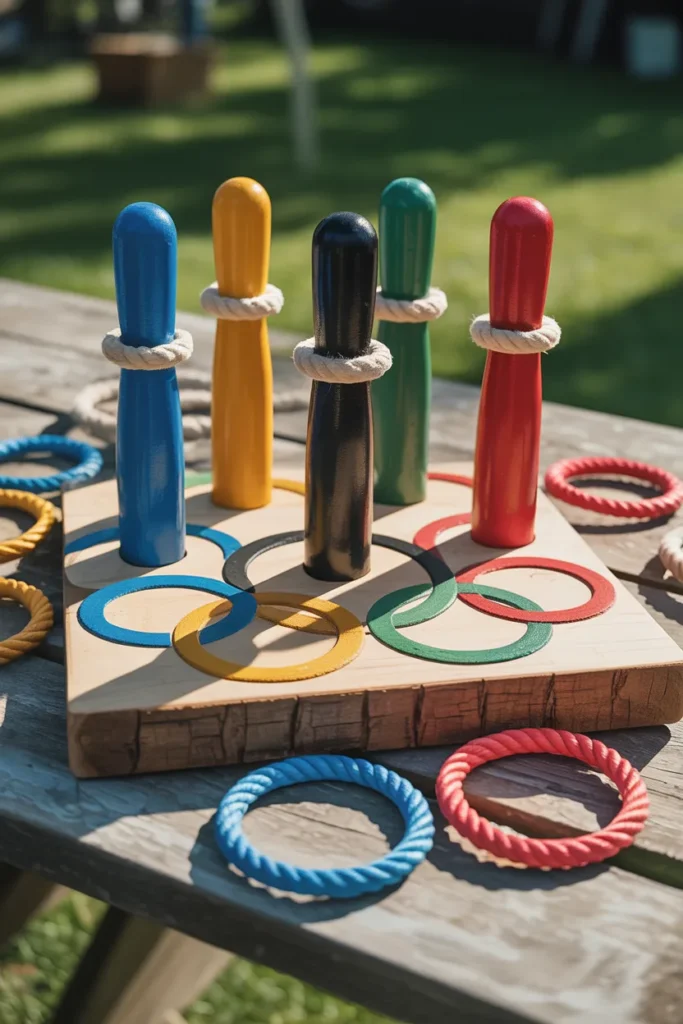
Sports fans usually love this version.
I paint the targets using colors inspired by international sporting events and use pool rings as the tossing rings. Adding scoreboards and tournament brackets instantly increases excitement.
For larger groups, I organize mini competitions where players earn points across multiple rounds.
This setup works particularly well during summer sports events and youth programs.
6. Soda Bottle Ring Toss
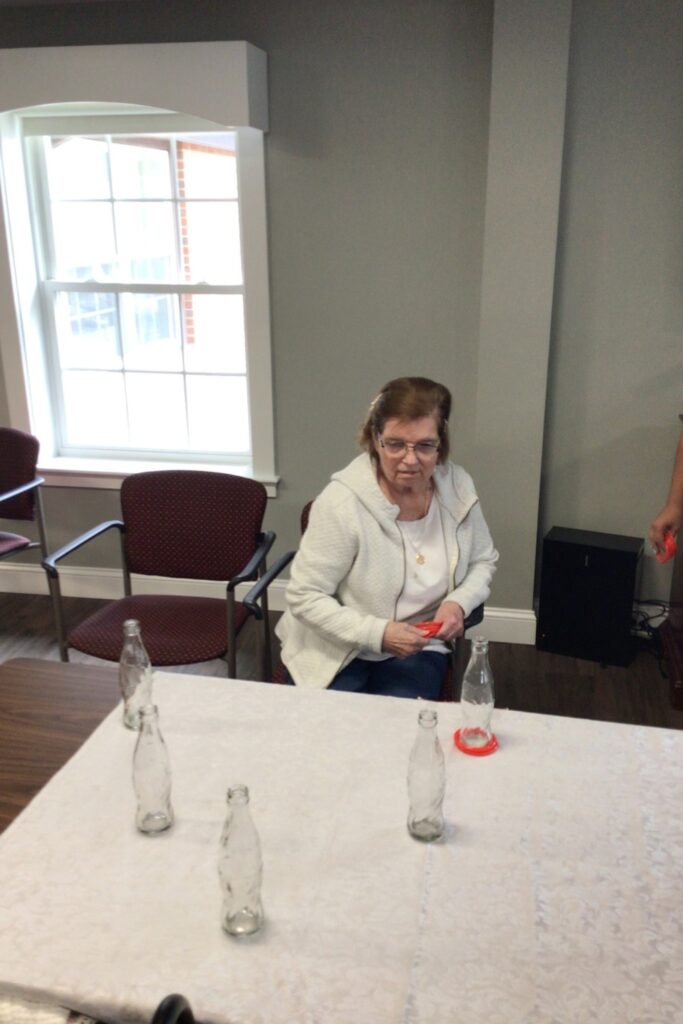
One of the easiest DIY ring toss game ideas involves recycled soda bottles.
I fill empty bottles with sand or water to keep them stable. The bottle necks naturally create excellent targets for rings.
Since most households already have these materials available, the overall cost remains extremely low.
It’s a practical option when you need a last-minute party activity.
7. Backyard Ring Toss with Angled Board
An angled board introduces a unique twist to traditional gameplay.
Because the pegs sit at an incline, players must adjust their throwing technique. This small change creates a noticeably different challenge.
I usually build the board from leftover plywood and finish it with weather-resistant paint.
This design adds variety for families who already own a standard ring toss game.
8. Vintage Bottle Ring Toss
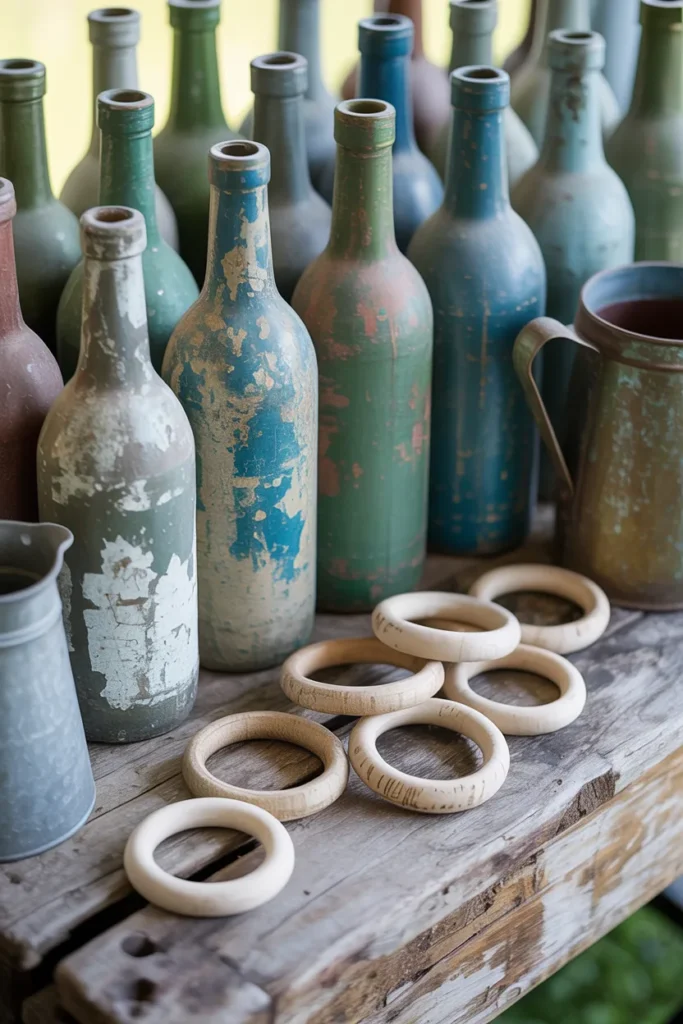
For rustic parties and farmhouse-themed events, I love using vintage-style bottles.
After cleaning the bottles, I paint them with chalk paint and lightly distress the surface to create an aged appearance. A matte protective finish completes the look.
The finished setup functions as both a decorative centerpiece and an entertaining game.
Many guests end up complimenting the design before they even start playing.
9. DIY Carnival Ring Toss
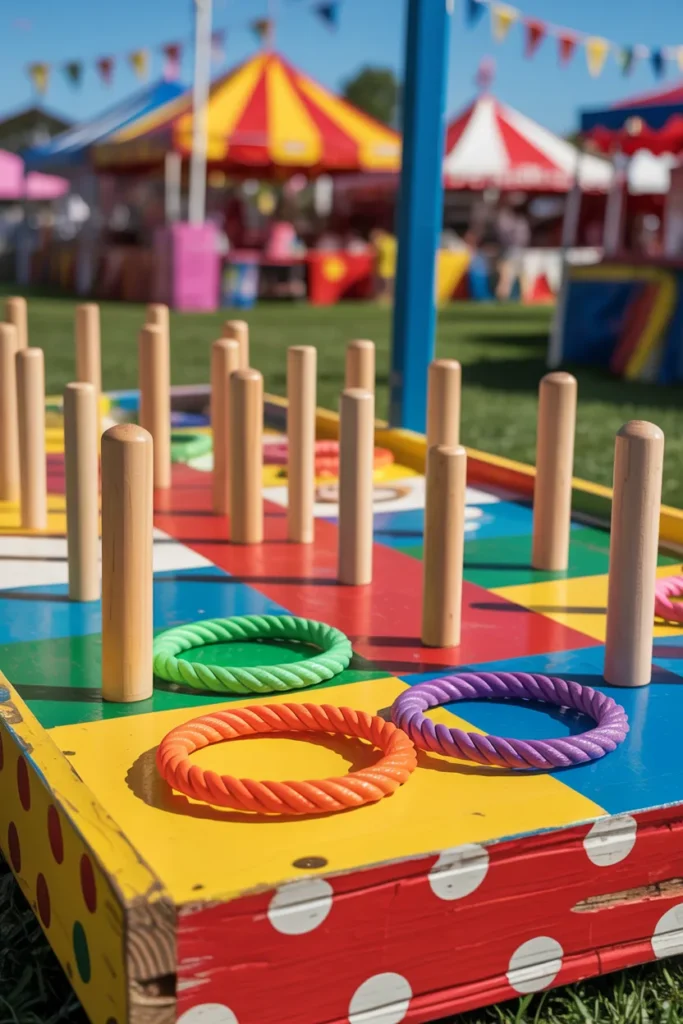
Carnival games always attract attention, and this version brings that atmosphere home.
I paint the board using bright colors commonly seen at fairs and festivals. Thick rope rings improve visibility and make gameplay easier for younger children.
Small prizes, candy, or tickets can be awarded to winners to create a true carnival experience.
This is one of the best options for birthday parties and school fundraisers.
10. Glow-in-the-Dark Ring Toss
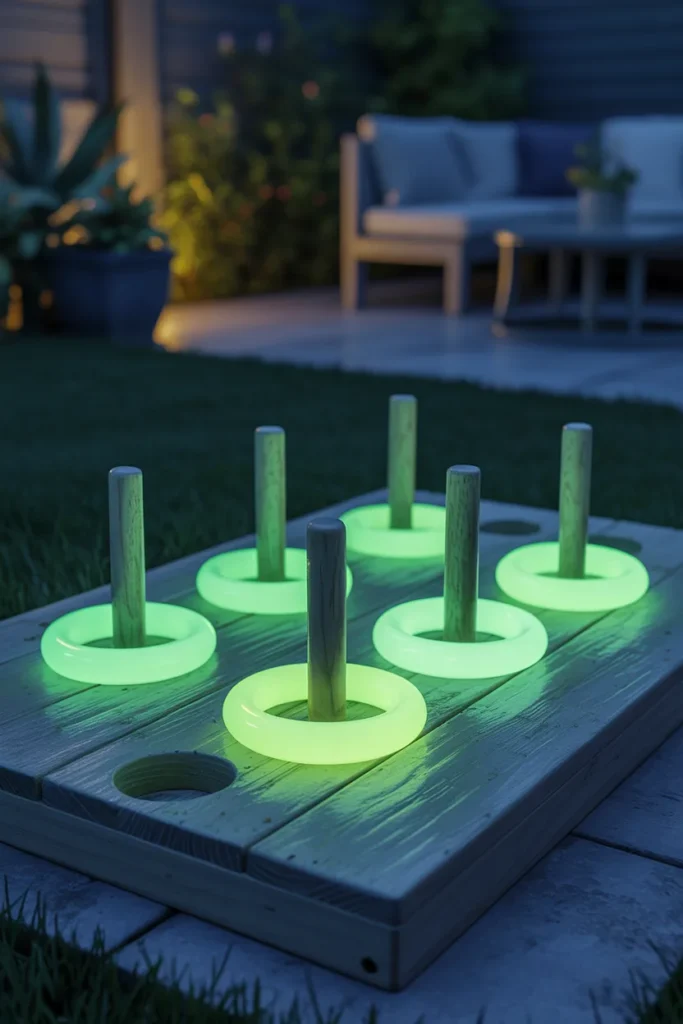
This is easily one of the most memorable versions I’ve built.
I coat the pegs and rings with glow-in-the-dark paint and allow them to charge under sunlight before evening play begins. LED lights around the board add even more visibility.
The glowing effect creates a unique nighttime activity that guests often remember long after the party ends.
Applying multiple paint coats usually produces the brightest results.
Pro Tip
Use a clear protective topcoat after painting to preserve the glow effect and prevent chipping.
Many of the ideas I share are inspired by real-life experimentation. I often test décor concepts in my own living spaces and explore practical ways they can be applied in everyday homes. I also gather insights from working with homeowners who want to improve the comfort, beauty, and functionality of their spaces.
I share practical ideas for improving living rooms, bedrooms, and overall home aesthetics using simple design principles.
I explore creative ways to upgrade outdoor spaces including patio décor, small backyard styling, and relaxing outdoor setups.
I provide ideas for kitchen organization, décor accents, and functional layouts that make kitchens more beautiful and practical.
The concepts shared here are based on ideas I have personally experimented with or studied through real home décor improvements.